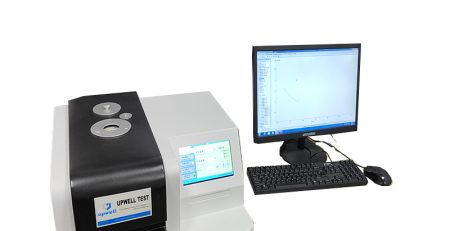
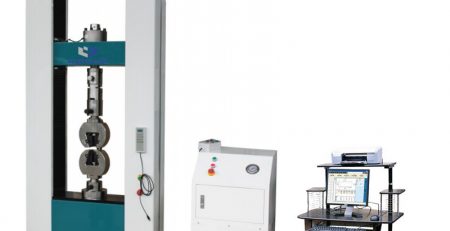
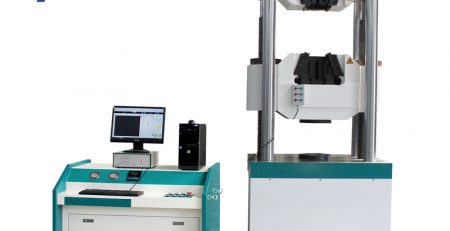
Universal testing machine is an important equipment in the research of material mechanics, but there are many kinds of testing machines, such as fatigue testing machine, etc. Different testing machines can meet different measurement needs. But no matter what type of testing machine it is, there will be errors in the measurement, so people will finally determine the precise value after many experiments.
The method of multiple experiments is used to avoid the error rate of the measurement value and reduce its error. But during the measurement, there will be positive and negative differences. How to solve the positive and negative error of the testing machine during the measurement process? This article will introduce the solution to the positive and negative error of the testing machine in detail.
- During the verification of the testing machine, when there is a positive or negative error in the indication value of the testing machine, the indication value of the testing machine and the corresponding standard force value are generally corrected. However, it should be noted that the artificial correction should not be too arbitrary, but should be corrected according to the actual situation.
- When the indication error is negative, it is linear. First, when calibrating, the actual error value of each calibration point should be recorded, and then when recalibrating during measurement, the standard force value of each calibration point is the standard force value minus the actual error value, which can be adjusted. For example: when the standard force is 200KN, the error is -4.2KN. In the calibration, when the display is 195.8KN, you need to confirm the key and input the value.
- When the indication error is positive error, and it is linear. Using the method of negative error, when calibrating, the standard force value of each calibration point is changed to the standard force value plus the actual error value, and then input, it can be adjusted.
- If the indication error, whether it is a positive error or a negative error, is not linear, it needs to be calibrated by the above method, and then calibrated by the conventional method, then it can be adjusted.
In fact, as long as the errors in the measurement of the universal testing machine are of the above types, no matter which one it is, it can be adjusted, and finally accurate values can be obtained. If you encounter any of the above error problems during measurement, you can use this method to solve it. However, when measuring, you still need to pay attention to recording the data and do not ignore the details.


